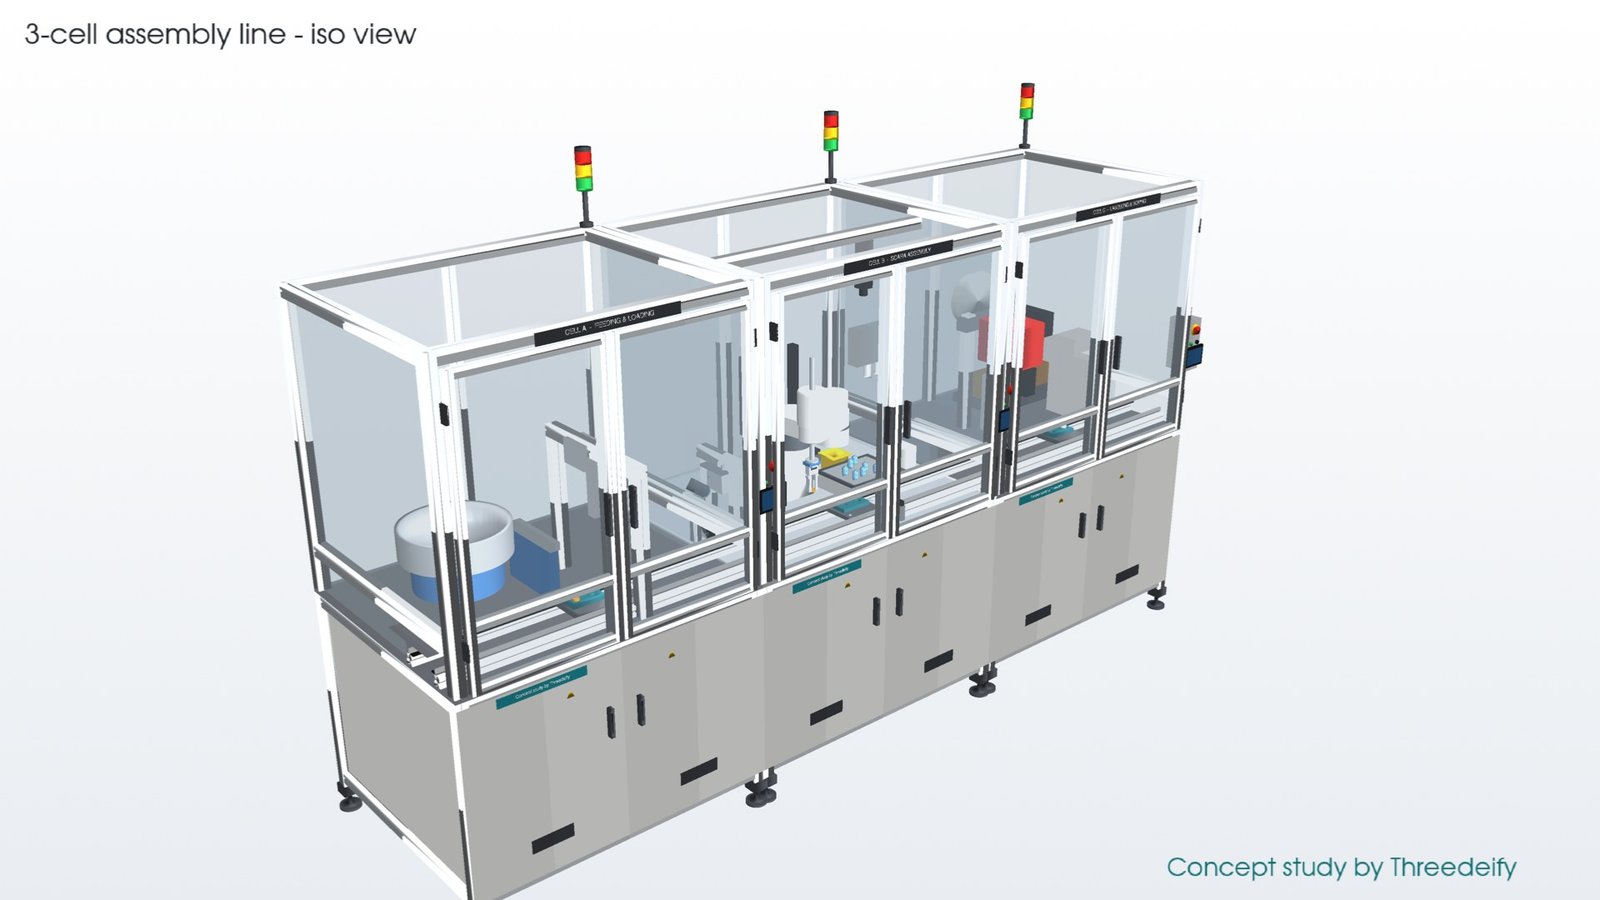
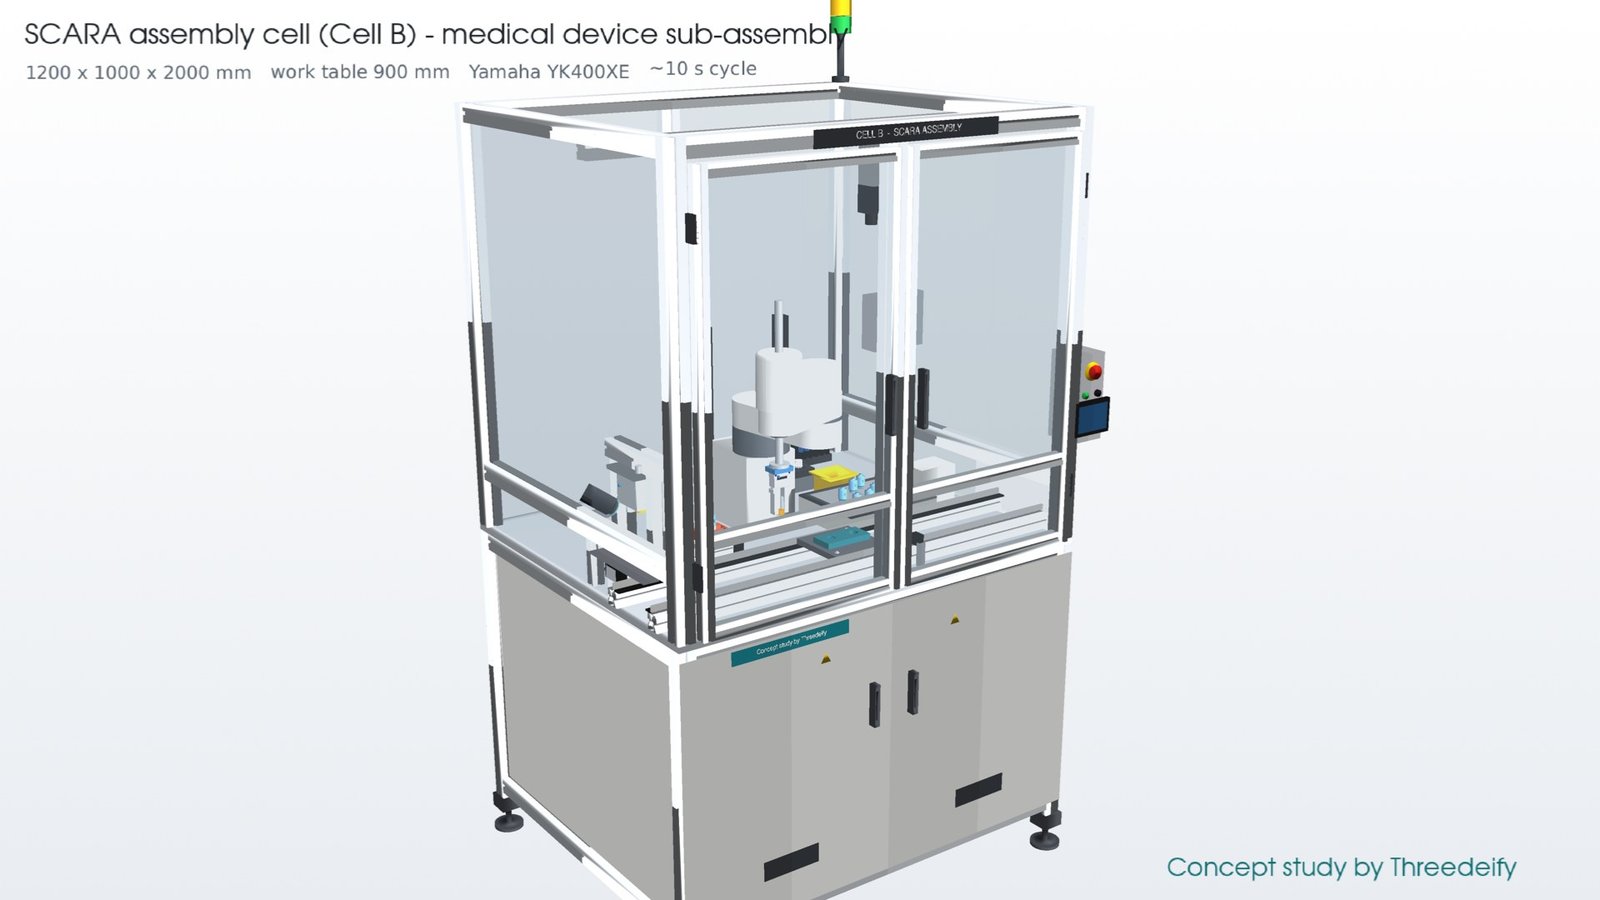
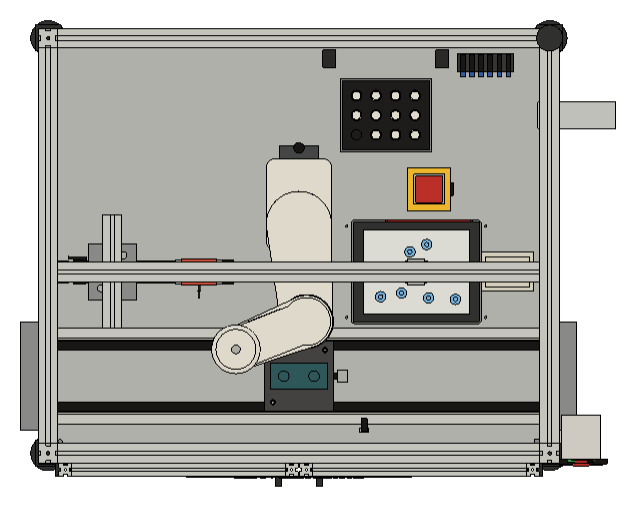
A concept study for automating the assembly of a small medical device sub-assembly: a Ø24 mm housing A, a snap-fit housing B and a press-fit cap. Threedeify designed the central SCARA assembly cell (Cell B) in full detail and placed it in a three-cell line with feeding and loading (Cell A) and labelling and boxing (Cell C).
The cell at a glance
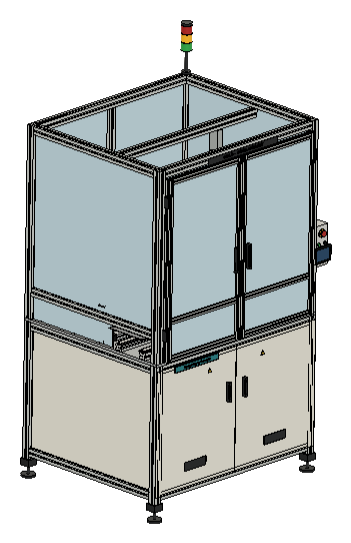
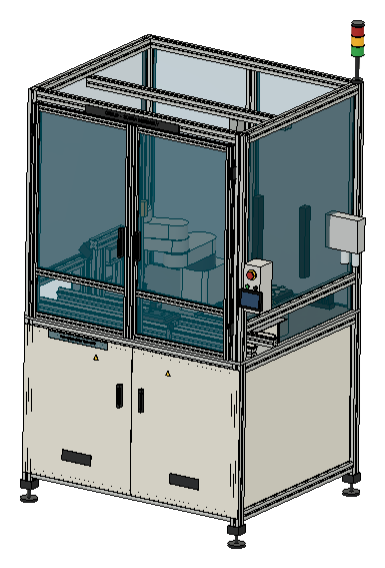
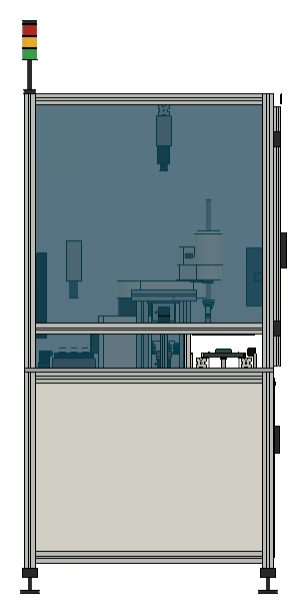
- Footprint: 1200 × 1000 × 2000 mm, work table at 900 mm
- Robot: Yamaha YK400XE 4-axis SCARA, 400 mm reach, with RCX340 controller
- Cycle time: about 10 s per assembly, around 300 parts/h at 85% OEE
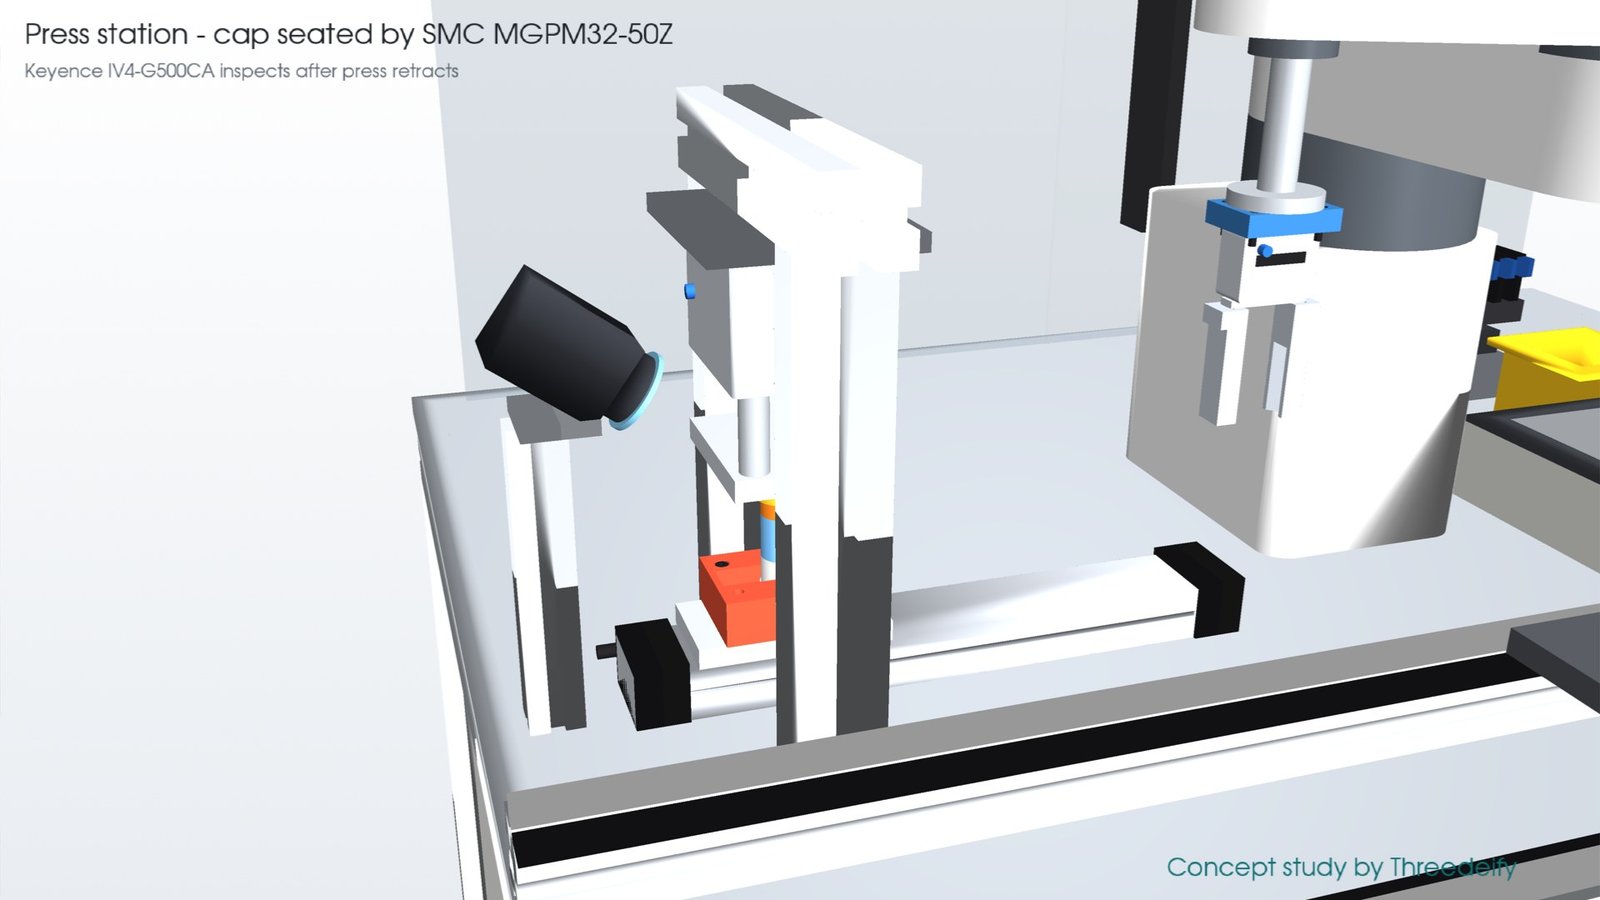
- Inspection: Keyence IV4 vision checks every assembly after pressing; rejects go to a chute
- Safety: polycarbonate guarding, door interlocks, light curtain at the tray refill hatch and E-stop
How the cell works
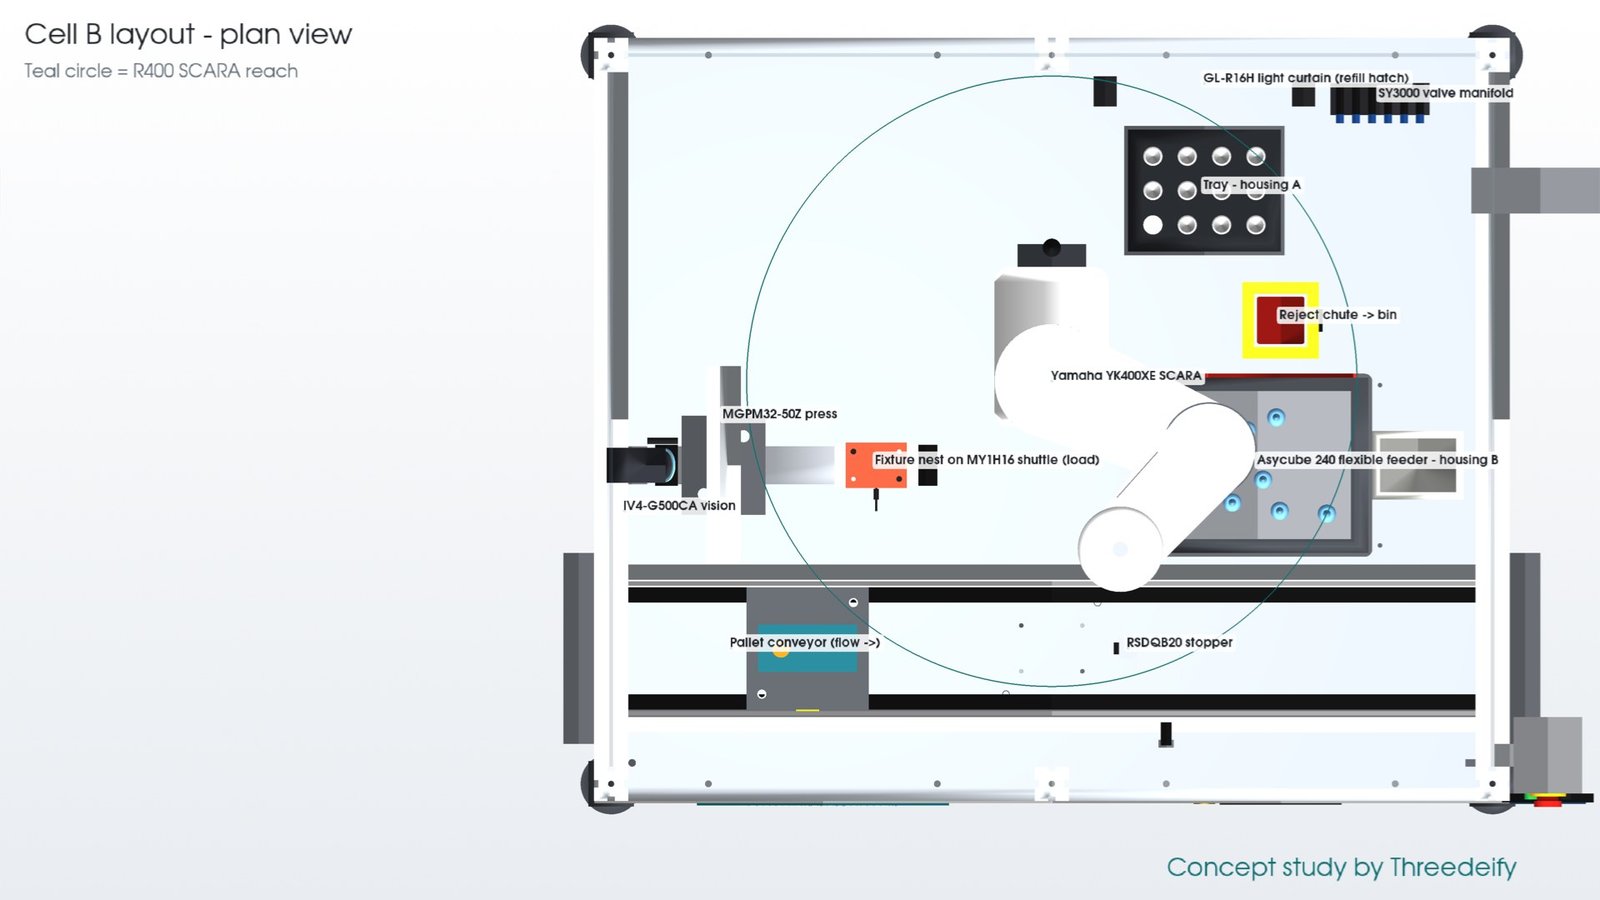
- The SCARA picks housing A from a tray and places it in the fixture nest.
- It picks housing B from an Asyril Asycube flexible feeder (vision-guided) and snaps it into housing A.
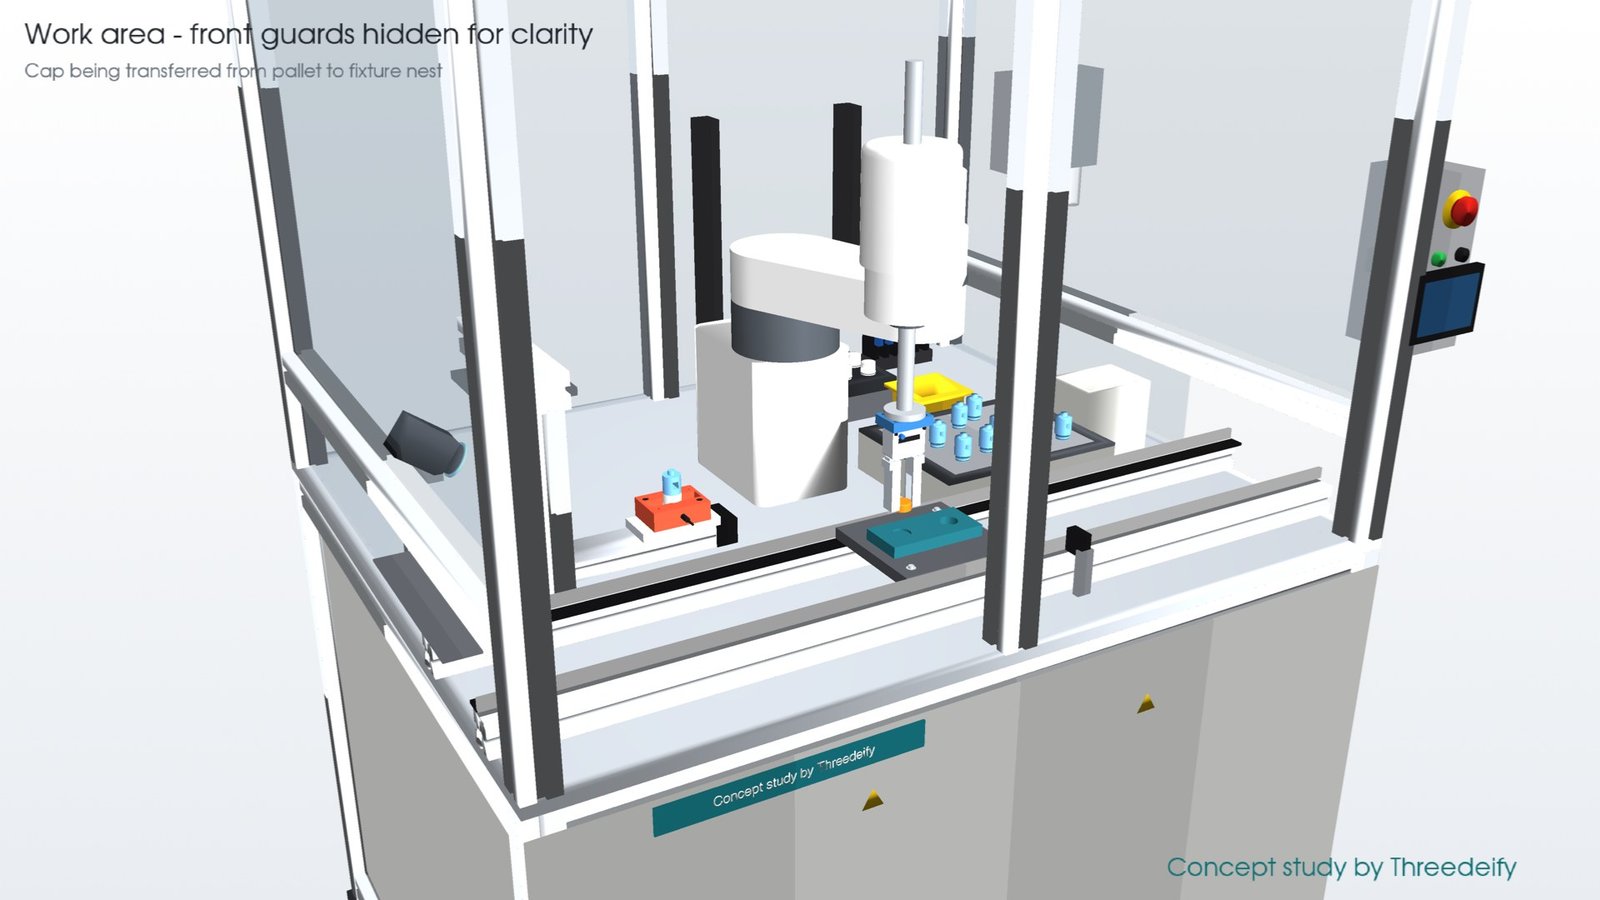
- It picks the cap from the incoming pallet and places it on the sub-assembly.
- A shuttle carries the nest to an SMC compact-cylinder press that seats the cap; the vision sensor then inspects the result.
- The robot places the finished part back on the pallet (or in the reject chute) and the pallet moves on to Cell C.
End-of-arm tooling and fixture
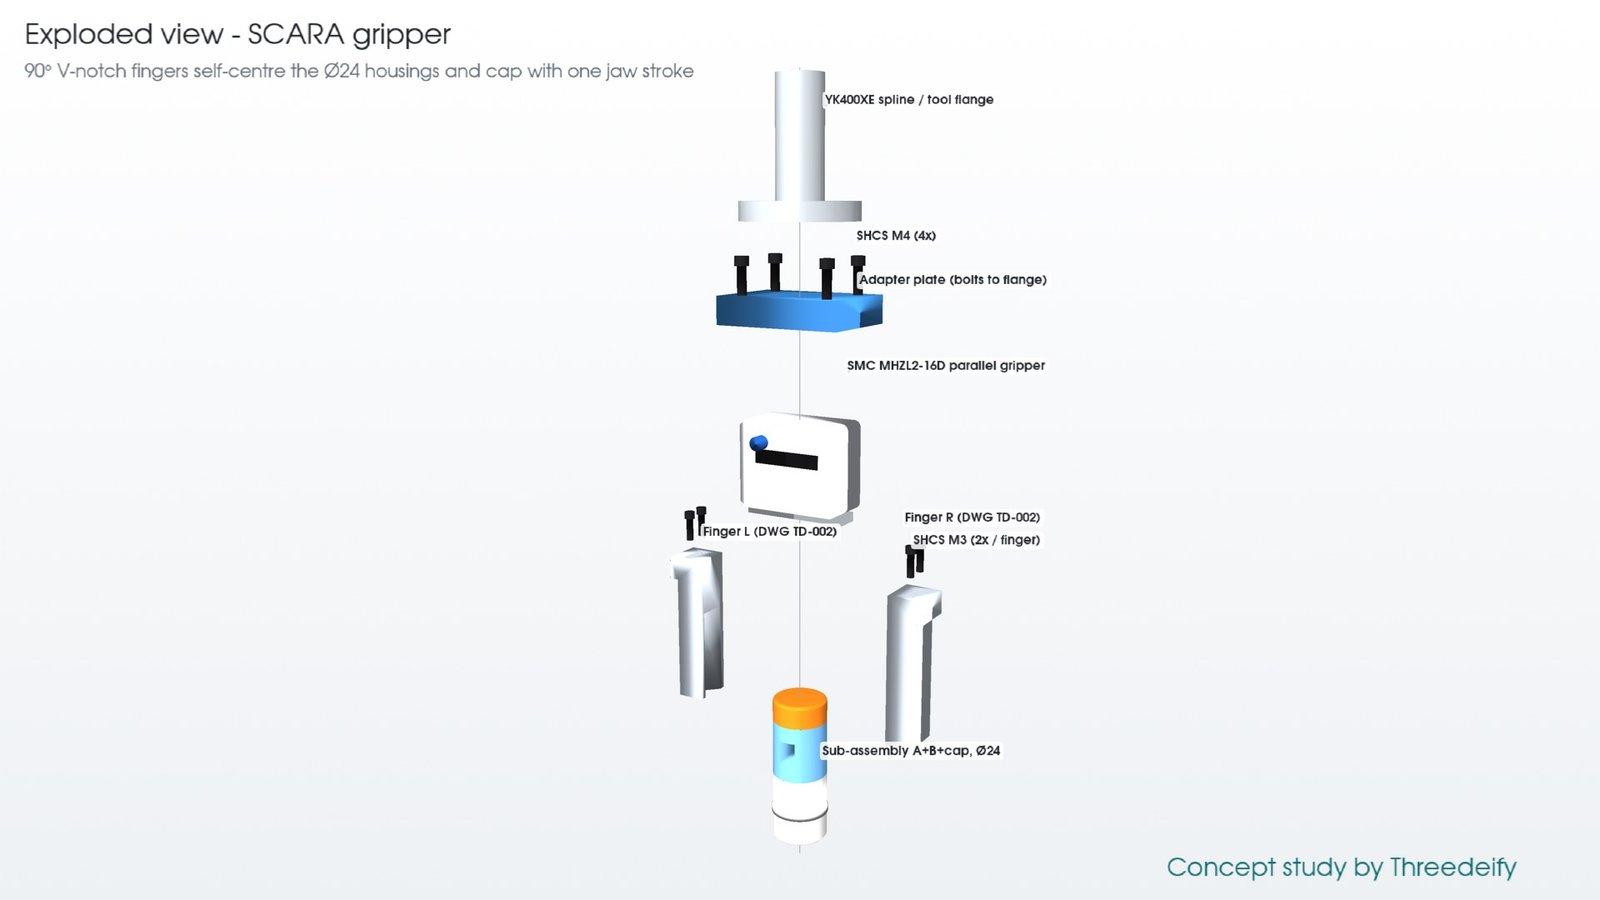
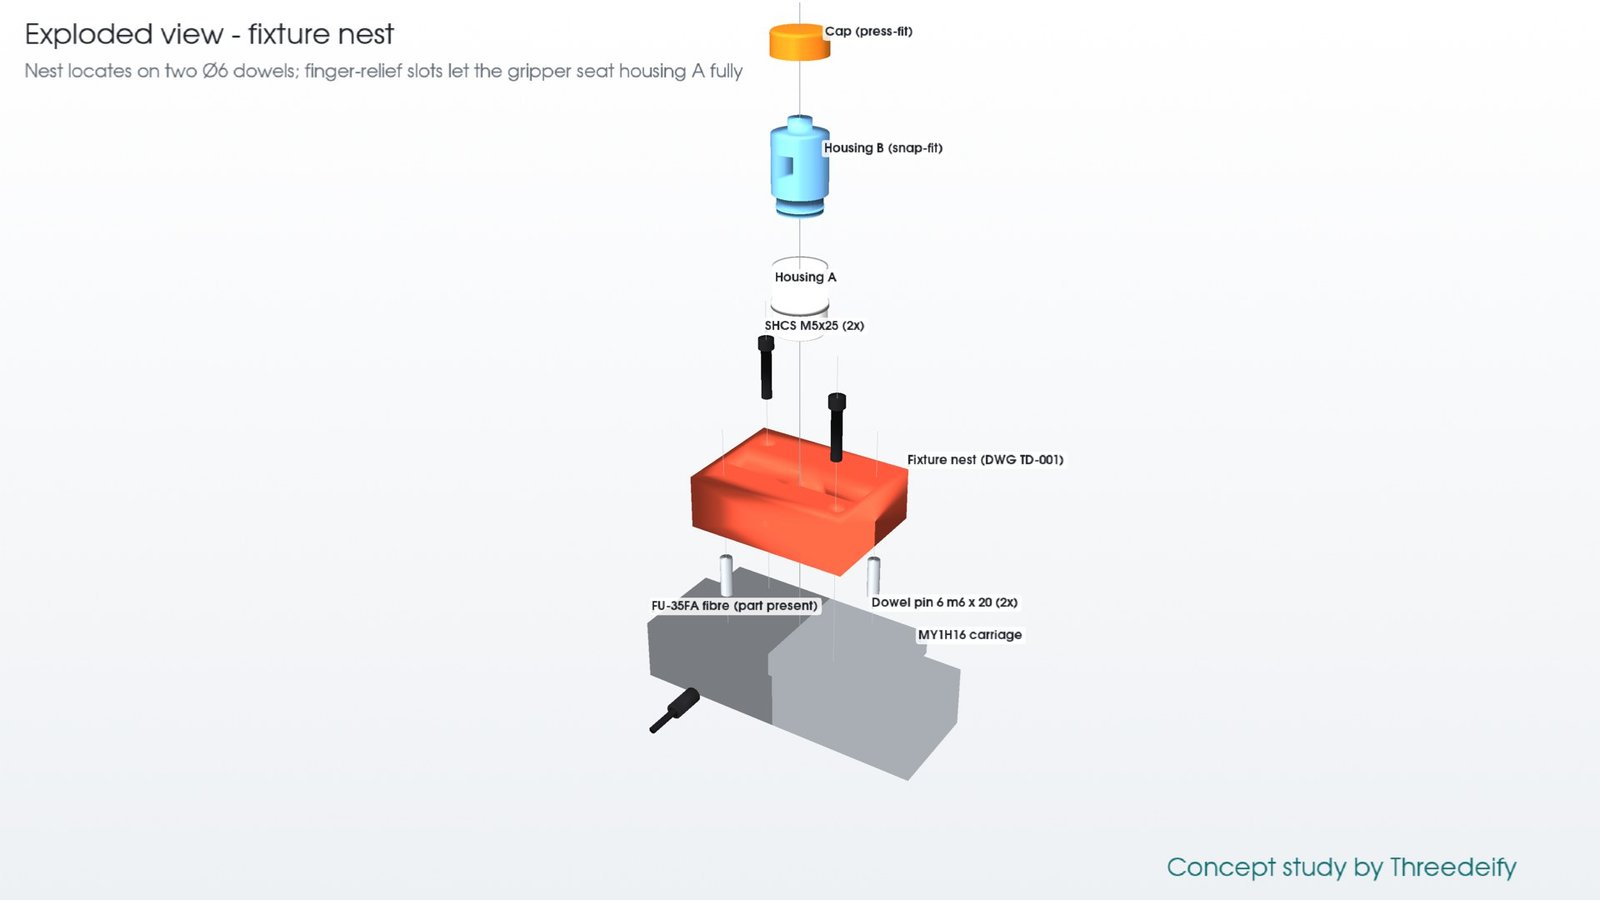
One SMC parallel gripper with 90° V-notch fingers self-centres the housings and the cap in a single jaw stroke, so the robot needs no tool change. The fixture nest locates on two Ø6 dowels and has finger-relief slots so the gripper can fully seat housing A, with a fibre sensor confirming the part is present.
Engineering checks
Every key choice was sized with calculations, not just modelled:
| Check | Result |
|---|---|
| Cap press-fit force | 225 N required (incl. 1.5 safety factor); MGPM32 gives 281 N usable at 0.5 MPa |
| SCARA payload | 0.35 kg tool + part against a 4 kg rating |
| Reach and joint limits | All pick and place targets within reach and joint limits; press kept outside the robot envelope |
| Cycle time | 10.0 s critical path (about 9 s with pre-picking), the line bottleneck |
| Conveyor capacity | Belt can deliver 75 pallets/min against about 6 needed |
| Pallet stop impact | 0.04 J, well inside the stopper rating |
Manufacturing drawings
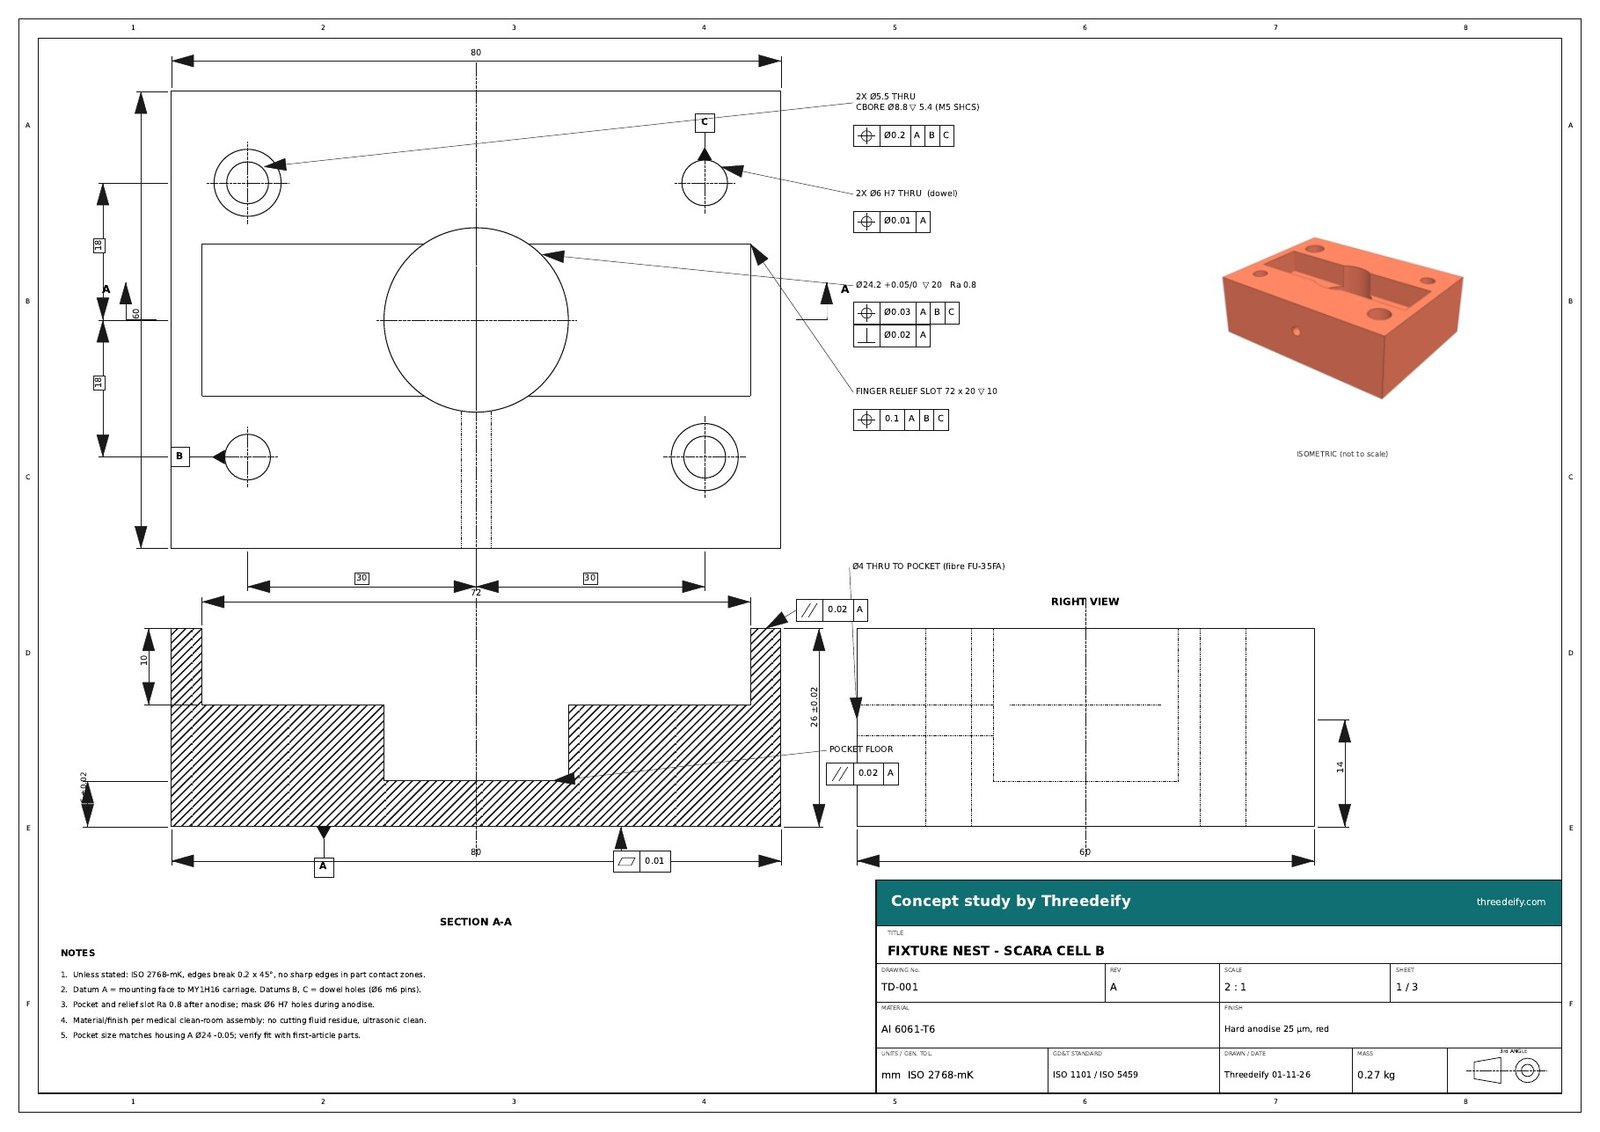
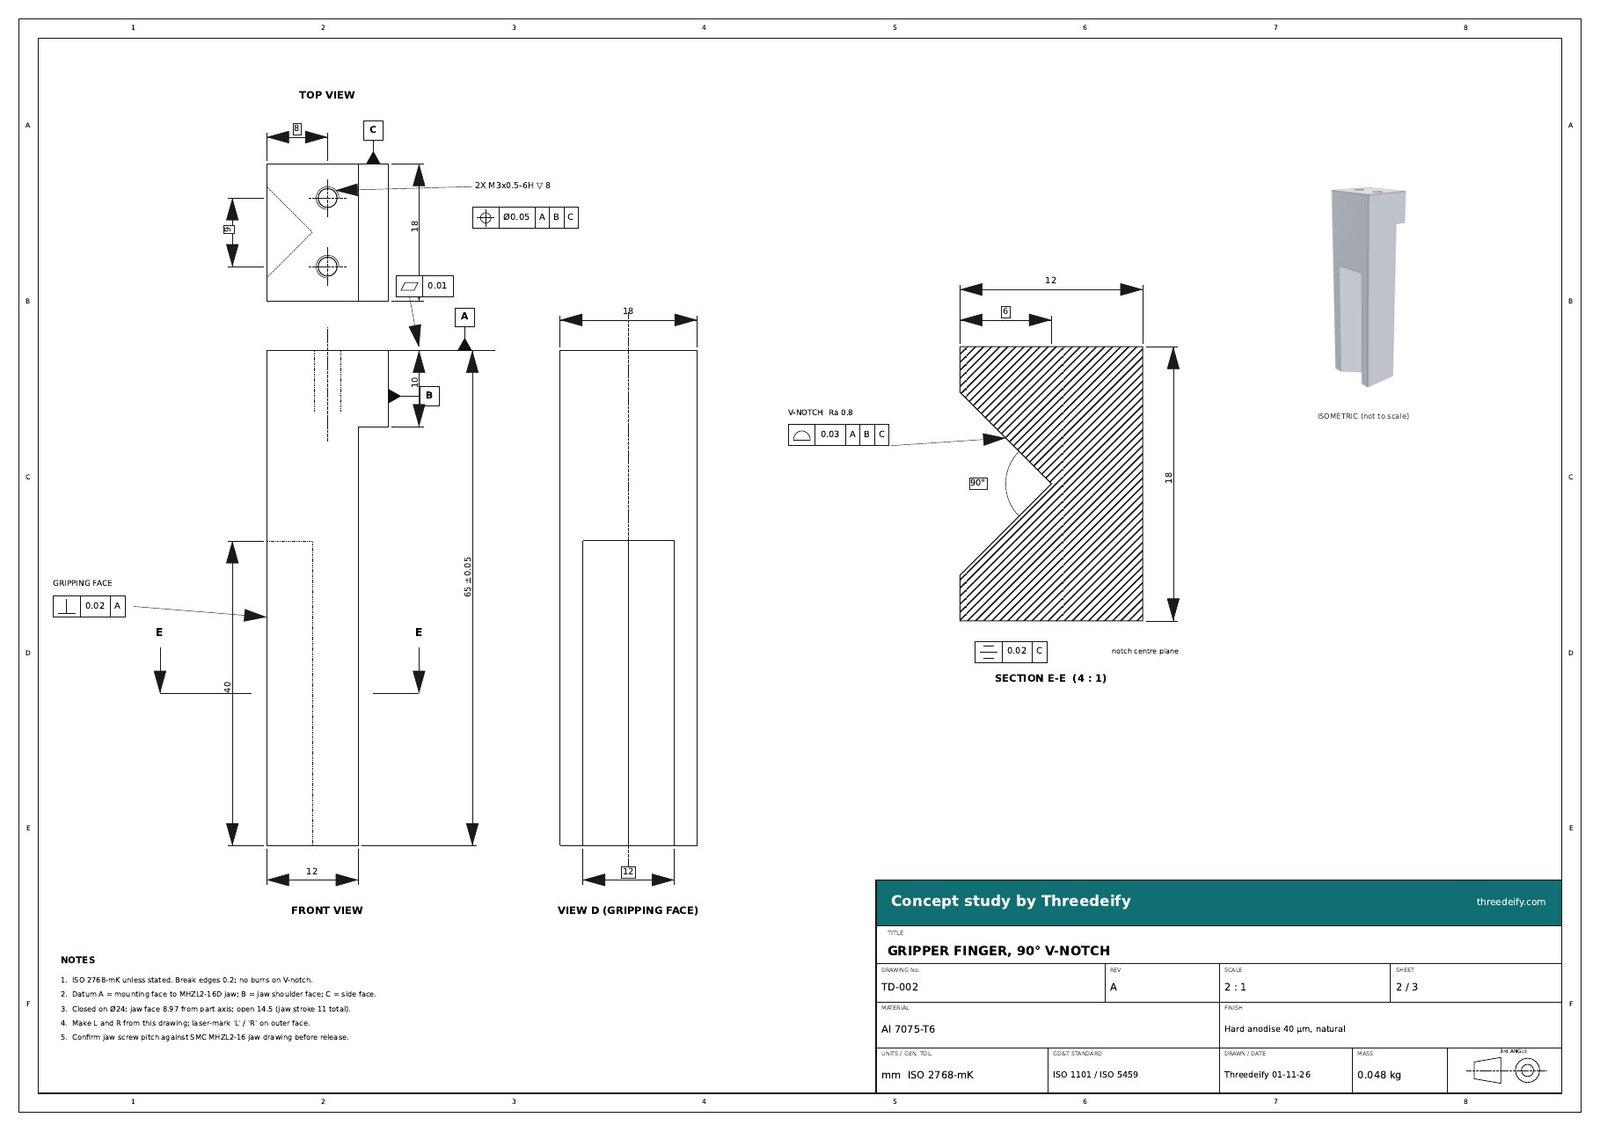
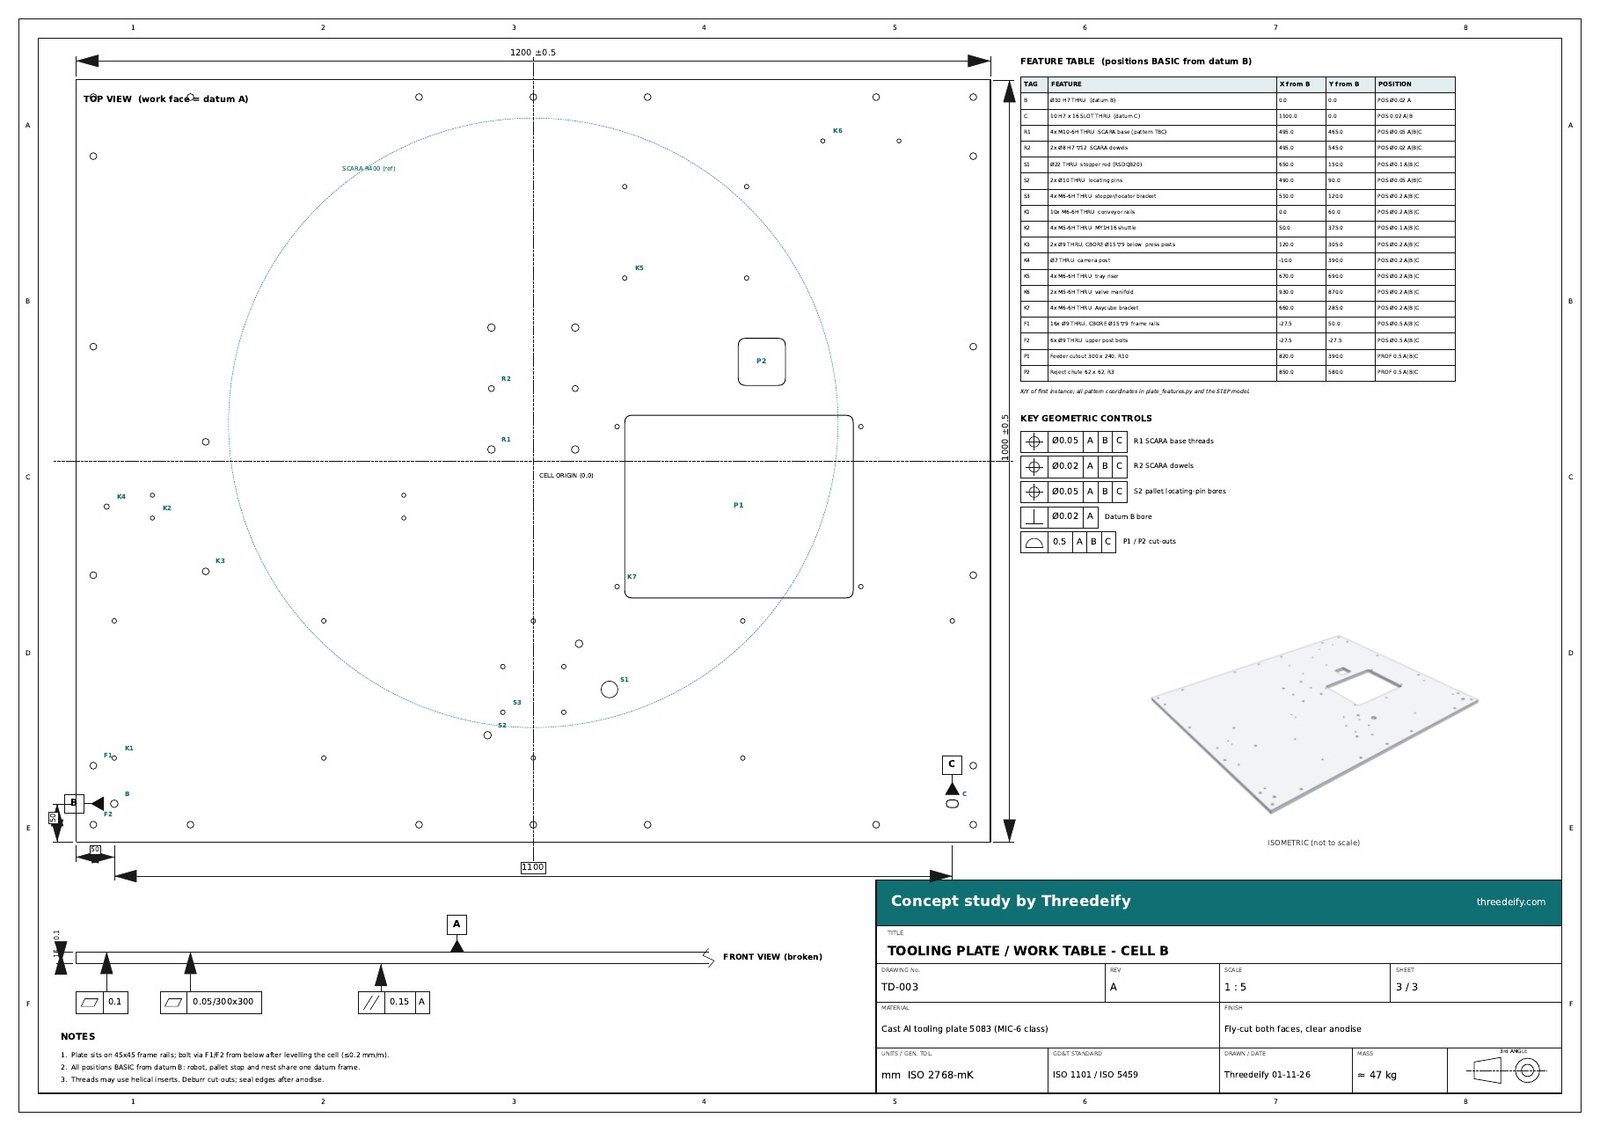
Custom parts are released with GD&T drawings (ISO 1101) ready for machining: the fixture nest, the gripper finger and the cell tooling plate.
The three-cell line
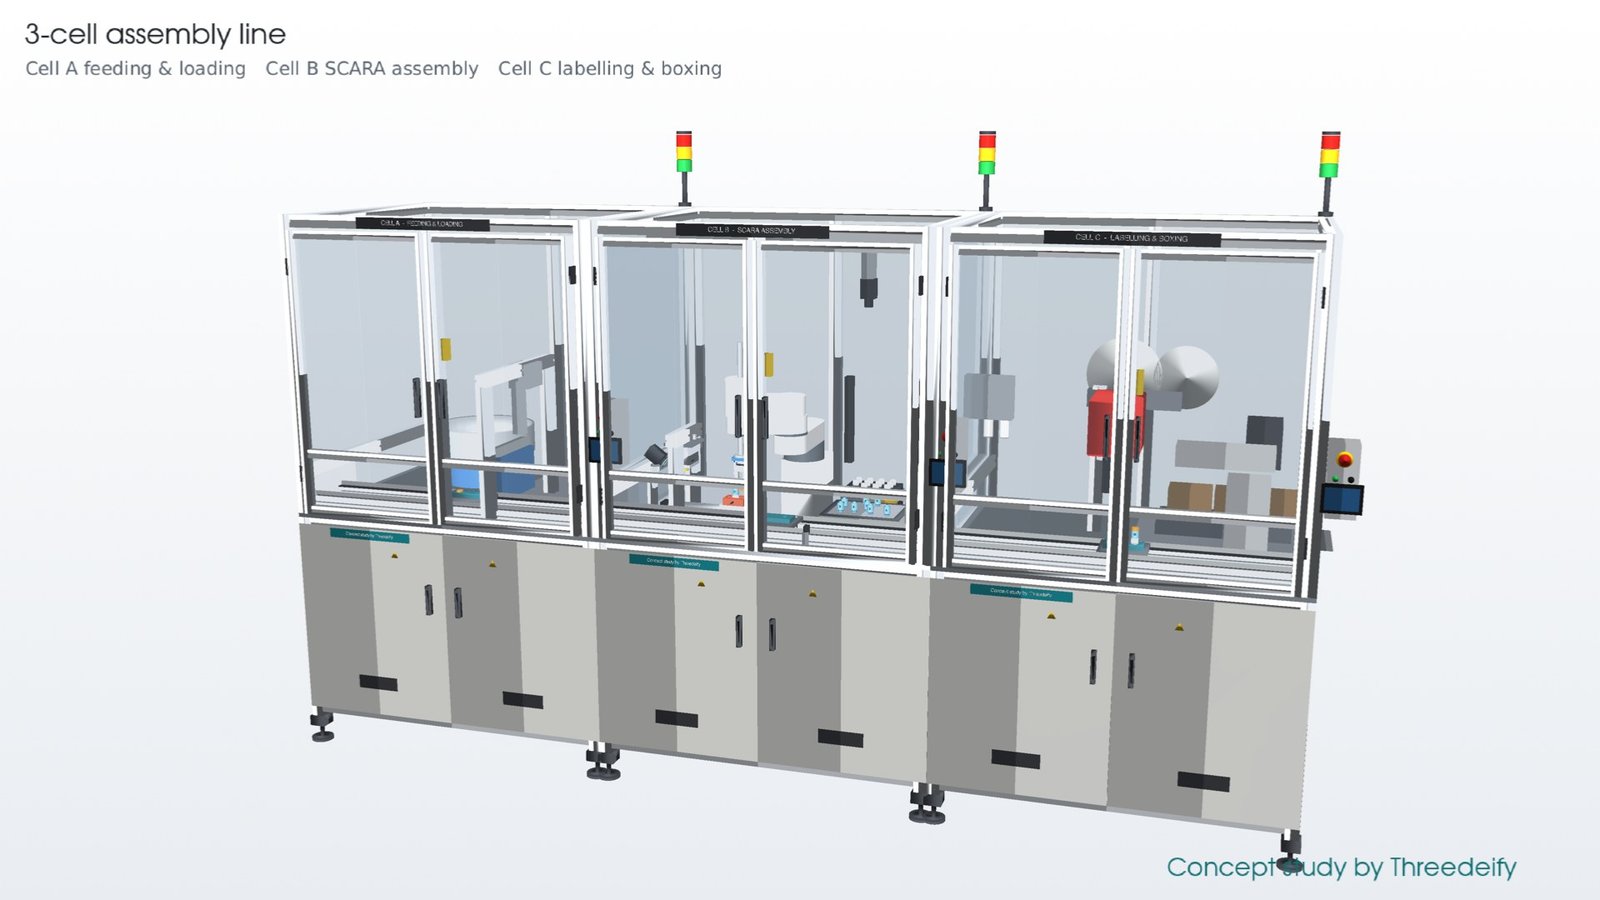
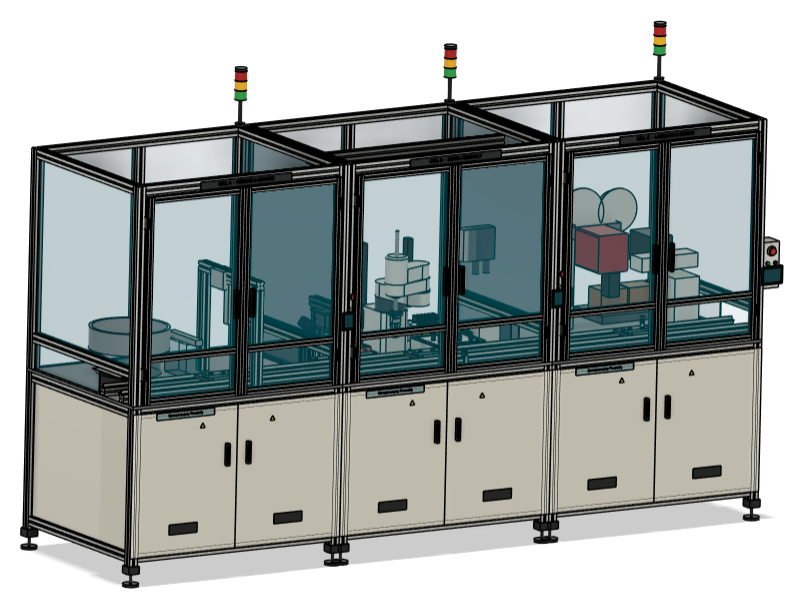
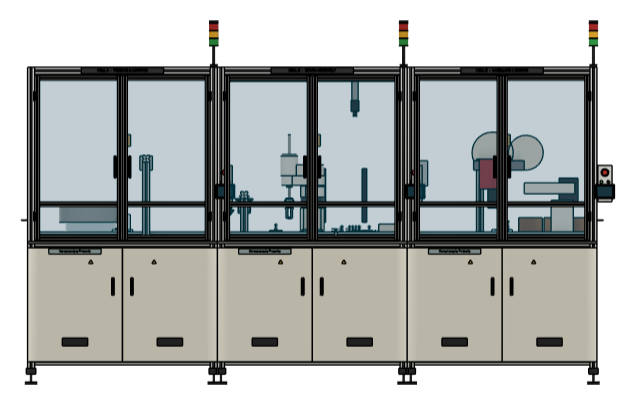
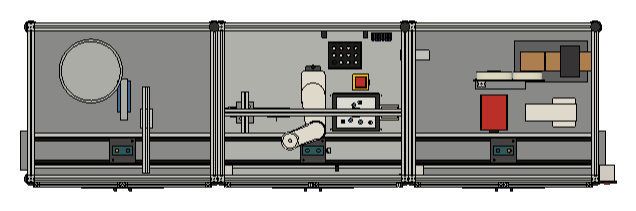
Cell B sits in a modular line built on the same aluminium-profile frame: Cell A feeds and loads parts, Cell B assembles and inspects, and Cell C labels and boxes. Pallets move between cells on a twin-belt transfer conveyor.
Deliverables
- Full 3D model of Cell B and the three-cell line (STEP)
- Bill of materials with 46 line items and OEM part numbers (Yamaha, SMC, Keyence, Asyril, Bosch Rexroth, Misumi, Omron)
- Calculation sheet: press force, payload, reach, cycle time and conveyor
- GD&T manufacturing drawings TD-001 to TD-003
- Renders and a 20-second cycle animation